

How to Find Safe Shore Dive Entry Points
Last Updated: November 10, 2026
Quick Summary
To find a safe shore dive entry, scout the shoreline on foot without your kit before gearing up, checking where water meets rock or sand, shelter, tide, and your exit. Watch the water for ten to fifteen minutes to read swell, surge, current and visibility, then set go/no-go limits on land and skip the dive if any box can't be ticked.
- Walk the site without your kit and check the entry, shelter, tide and exit before anything else.
- Spend ten to fifteen minutes watching the water to judge swell, surge, current and visibility.
- Agree on maximum swell, maximum surge, minimum visibility and a required exit condition before gearing up.
- Match your technique to the shoreline: wade slowly on sand, keep three points of contact on rock.
- Pick a primary exit and a backup exit, and brief both with your buddy before you descend.
Table of Contents
- Step 1: Scout the Entry Point Before You Gear Up
- Step 2: Learn How to Read Surf Conditions for Diving
- Step 3: Match the Entry to the Shoreline Type
- Step 4: Set Go/No-Go Thresholds Before You Commit
- Step 5: Apply the Best Shore Dive Entry Techniques
- Step 6: Plan Your Exit and an Alternate Exit Route
- Step 7: Shore Diving Safety Tips for Every Buddy Team
- Book a Guided Shore Dive with Local Instructors
- Frequently Asked Questions
Step 1: Scout the Entry Point Before You Gear Up
Learning how to find safe shore dive entry points starts with one habit: look before you lift. Many divers suit up in the car park and only study the water once they're standing at the edge, sweating in a wetsuit. That order is backwards. A shore dive entry is only as safe as the five minutes you spend reading the shoreline first.
Walk the site without your kit. Browse our local shore dives to see the sites we know and dive. Check these before anything else:
- Where the water meets the sand or rock
- Whether the entry is sheltered or exposed
- What the tide is doing right now
- Where you would climb out if the water turned
- Whether anyone else is diving the site
Recreational diving medical and safety guidance
The Entry-Point Assessment Checklist
Use this every time, even at sites you know well. Conditions change daily.
- Entry looks free of loose rock and weed
- No strong surge pushing onto the shore
- A clear, obvious exit point
- An alternate exit identified
- Buddy agrees on the plan
- Gear assembled and checked
- Tide and swell checked for the next hour
If you can't tick every box, don't dive. That's the whole rule.
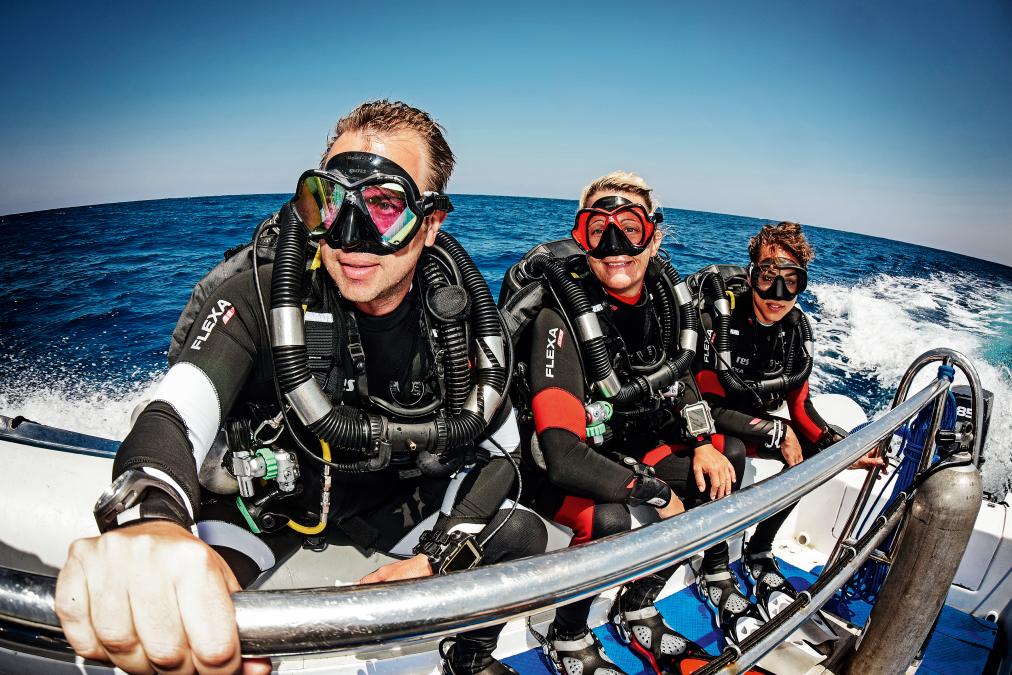
Step 2: Learn How to Read Surf Conditions for Diving
Reading surf conditions for diving means watching the water for several minutes before you judge it. A single glance tells you nothing. Stand still, count the sets, and time the gaps between them.
Look for these signals, and treat each as a measurable input rather than a vague impression:
- Swell: the height and spacing of waves. Long gaps between sets mean calmer water at the entry. Short, stacked sets leave no safe window to walk in and out.
- Surge: the push and pull near rocks and ledges. Watch a fixed reference point, a rock, a weed line, a channel marker, and estimate how far the water moves up and down it. Strong, fast surge makes entries and exits risky even when the surface looks calm.
- Current: sideways movement along the shore. Look for drift in floating weed, foam lines or sand plumes. A current that runs along the shore can carry you past your exit before you notice.
- Tide: rising or falling water changes entry depth and the walk-out distance fast. Check the tide range for the next few hours, not just the current reading, and note whether the entry is better at high or low water.
- Visibility: murky water near the shore often means stirred-up sand or recent runoff. If you cannot see your buddy at arm's length from the surface, the entry is not the place to test it.
Bureau of Meteorology marine forecasts
Check the forecast before you leave home, then confirm it with your own eyes on arrival. Forecasts are a guide, not a guarantee, and coastal conditions can differ sharply from the nearest forecast point.
Set your own go/no-go thresholds on land, before you gear up, and write them down if your team tends to talk itself into a dive. Our dive condition ratings explain how we score conditions at each site.
Step 3: Match the Entry to the Shoreline Type
Different shorelines demand different approaches. Match your technique to the ground under your feet, and assess access and logistics before you assess the water.
Sandy Entries
Sandy entries are the friendliest for new divers. Wade in slowly, watch for holes, drop-offs and submerged rocks, and keep your regulator in. Check the sand between the car park and the water, soft sand over a long carry is tiring in full kit, and the walk back out is harder when you are cold. Note where the sand slopes steeply, because that is where the exit becomes a scramble.
Rocky Ledges and Reef Flats
Rocky ledges need care. Wet rock is slippery, weed hides loose stone, and reef flats can be shallow enough to damage both you and the habitat. Move slowly, keep three points of contact, and never jump in blind. Walk the exit route as well as the entry, because a ledge that is easy to enter can be awkward to climb out of with a cylinder on your back. Avoid walking on live coral or fragile reef where a sandy channel or marked path exists.
Surf Zones
Surf zones are the least forgiving shore type. Time your entry around the set cycle, walk in rather than plunge, and keep your mask and regulator in place before the first wave reaches you. If the surf is building or the gaps between sets are too short to walk out cleanly, treat the site as a no-go. A surf entry is a skill to build with an instructor, not a shortcut for a first shore dive.
Marked Entrances and Designated Access
Marked entrances exist for a reason. If a site has a designated path to the water, use it. Local knowledge put it there, often because the unmarked route damages reef or is unsafe at certain tides. Check whether access is through a reserve, national park or private land, and confirm any permit, closure or seasonal restriction before you travel. Parking distance matters too: a site that looks close on a map can mean a long carry over uneven ground, which changes how tired you are before the dive and how safely you can exit.
Verifying Site Information
Do not rely on a single map, an old guidebook or a forum post. Cross-check the site against a current map, the tide table for the day, any recent local report and, where possible, advice from a local operator or dive club. If the sources disagree about access, exit or conditions, treat that as a reason to scout on foot before gearing up.
The type of shoreline decides your entry, your exit, your access and how much margin you leave. Treat each one differently, and brief the plan with your buddy before anyone gets wet.
Step 4: Set Go/No-Go Thresholds Before You Commit
Decide your limits on land, not in the water. A shore dive entry plan works best when the whole buddy team agrees on the call before anyone gets wet.
| Condition | Go | No-Go |
|---|---|---|
| Surf | Small, long gaps between sets | Big or building sets |
| Surge at rocks | Mild push | Strong push and pull |
| Visibility | Enough to see your buddy | Too murky to stay together |
| Exit | Clear and reachable | No safe exit visible |
| Team | Everyone comfortable | Anyone unsure |
If any row lands in No-Go, the dive is off. No debate at the water's edge. This is the step most guides skip, and it's the one that keeps teams safe.
Step 5: Apply the Best Shore Dive Entry Techniques
The best shore dive entry techniques come down to control and calm. Move slowly, stay low, and keep your buddy in sight.
- Assemble and check gear on land
- Put your regulator in and mask on
- Enter slowly, watching your footing
- Keep your buddy beside you
- Signal when you're clear of the wash
- Descend only when both divers are ready
Shore diving builds strong foundational skills because every entry teaches you to read water and manage your kit. It's why we rate it so highly for newer divers. EXTERNAL_LINK: Is shore diving the best training ground for new divers?
Step 6: Plan Your Exit and an Alternate Exit Route
Your exit is part of the plan, not an afterthought. Pick a primary exit point and a backup before you descend.
Ask yourself:
- Can I see the exit from the water?
- What happens if the surf picks up?
- Where's the nearest alternative way out?
- Will the tide change the exit depth?
A shore dive entry and exit are a pair. If the exit stops working, you need a second option already in mind. Brief it with your buddy on the surface.
Step 7: Shore Diving Safety Tips for Every Buddy Team
Shore diving safety tips work best when both divers share the same plan. Agree on hand signals, stay close, and know what to do if panic sets in. A calm, practised plan matters more than any single piece of gear. EXTERNAL_LINK: How to manage panic while scuba diving
- Stay within arm's reach
- Agree on a turn-around point
- Watch the water behind you
- Surface before you're tired
- Never split up
Watch out: the most common mistake is treating a familiar site as automatically safe. Conditions shift, and the site you dived last month may not be the site you're standing at today.
Book a Guided Shore Dive with Local Instructors
The fastest way to learn safe entry points is to dive with people who know the shoreline. Our instructors are experienced, and our training is run in small classes so every diver gets real attention. Check our calendar to see upcoming guided shore dives and pick a date.
Reading an entry point well is a skill, and like any skill it sharpens with practice and good guidance.
Frequently Asked Questions
What are the signs of a safe shore dive entry point?
A safe shore dive entry point has a clear, unobstructed path to the water, a sandy or smooth-rock base rather than loose boulders, and no breaking waves pushing onto the exit. Look for a marked entrance or a channel that local divers already use. Check that you can see the bottom where you plan to stand, that the swell is not surging up the rocks, and that you have a second way out if conditions change. If any of those fail, treat the site as a no-go.
How do I assess wave conditions before entering the water?
Watch the surf from a high point for at least ten minutes before you touch your gear. Note the set pattern: how many waves in a set, how long the lull lasts, and whether waves are breaking on the entry or rolling past it. Check the swell direction against the shoreline, because a shore that is sheltered in one swell direction can be dangerous in another. If the lull is too short to walk in and out comfortably, pick a different entry or come back another day.
How do I plan a safe exit strategy for shore dives?
Plan the exit before you enter, not after. Identify your primary exit point from the water on the way out and pick a backup exit within easy swimming distance. Note landmarks such as a headland, a rock formation or a building so you can find the exit in poor visibility. Agree with your buddy on a turnaround pressure and a time limit. On the return, approach the exit from the sheltered side, watch a full set of waves, and exit during the lull rather than in the wash.
Are there specific resources for finding local dive site maps?
Local dive centre briefings and site guides are the most reliable source, because staff dive these entries regularly and know how they change with the seasons. Paper charts and nautical maps show depth and reef structure but not how a beach entry behaves on the day. Cross-check any map or online guide against what you see on site, and ask a local diver about recent conditions. If a map and the shoreline disagree, trust the shoreline.
